

Tuesday, May 29, 2012
Picking Granite for Your Kitchen Remodel

Monday, May 28, 2012
Other Side of the Door


 |
| Before |
Friday, February 04, 2011
Architectural Digest--New Editor/Updated?
Anyone who is planning or is in the middle of a remodel knows that the glossy shelter magazine is a very important cost effective advisor. Now one of the staples of the industry has a new editor-in-chief at the helm, Margaret Russell. Ms. Russell states "AD will always be the place to find the ideas, talent, and sources to make your dreams come to fruition."
The New York Times has featured an article about the transition of AD. As a new subscriber to AD, (first magazine arrived this week), I look forward to watching the magazine over the next week.
The New York Times has featured an article about the transition of AD. As a new subscriber to AD, (first magazine arrived this week), I look forward to watching the magazine over the next week.
Entry Door (Mahogany Panel) Before and After
 |
| Original door with stone facade. |

 |
| Stone facade was replace by stucco finish. Glass choice provides privacy while still allow light in the entry hall. |
|
| Before photo interior view. One important improvement to several doors and windows was to size them correctly to allow the casing to not be encased in the ceiling. That's right. Click on the photo and you will see that previously the door was too tall for this area and the casing is in the drywall of the ceiling! |
 |
| The architect recommended painting the doors for a more authentic look. We felt, however, if you are using a wonderful wood like mahogany, you must let that wood show. Mahogany wood was selected because of the door height to minimize warping. |
 |
| Living Finish Oil Rubbed Bronze. Hardware by Ashly Norton. You can see the brighter appearance of the right hand handle versus the left handle. This is a living finish meaning there is not protective coating. This means over time the color will change and patina adding to the character of the handles. |
 |
| Mortise lock. Allows free exit with choice of lock/no lock depending on the position of the bottom toggle. |
Thursday, February 03, 2011
Secondary Bath Before and After--More Details
 |
| Vanity--Back splash in same material as counter top. |
 |
| Light Fixture Centered over Mirror in Polished Nickel |
 |
| "Egg" style hardware with back plate in oil rubbed bronze |
 |
| Two matching towel bars. Towels from Restoration Hardware. |
 |
| Detail of Harlequin Tile on Wall surrounding Tub |
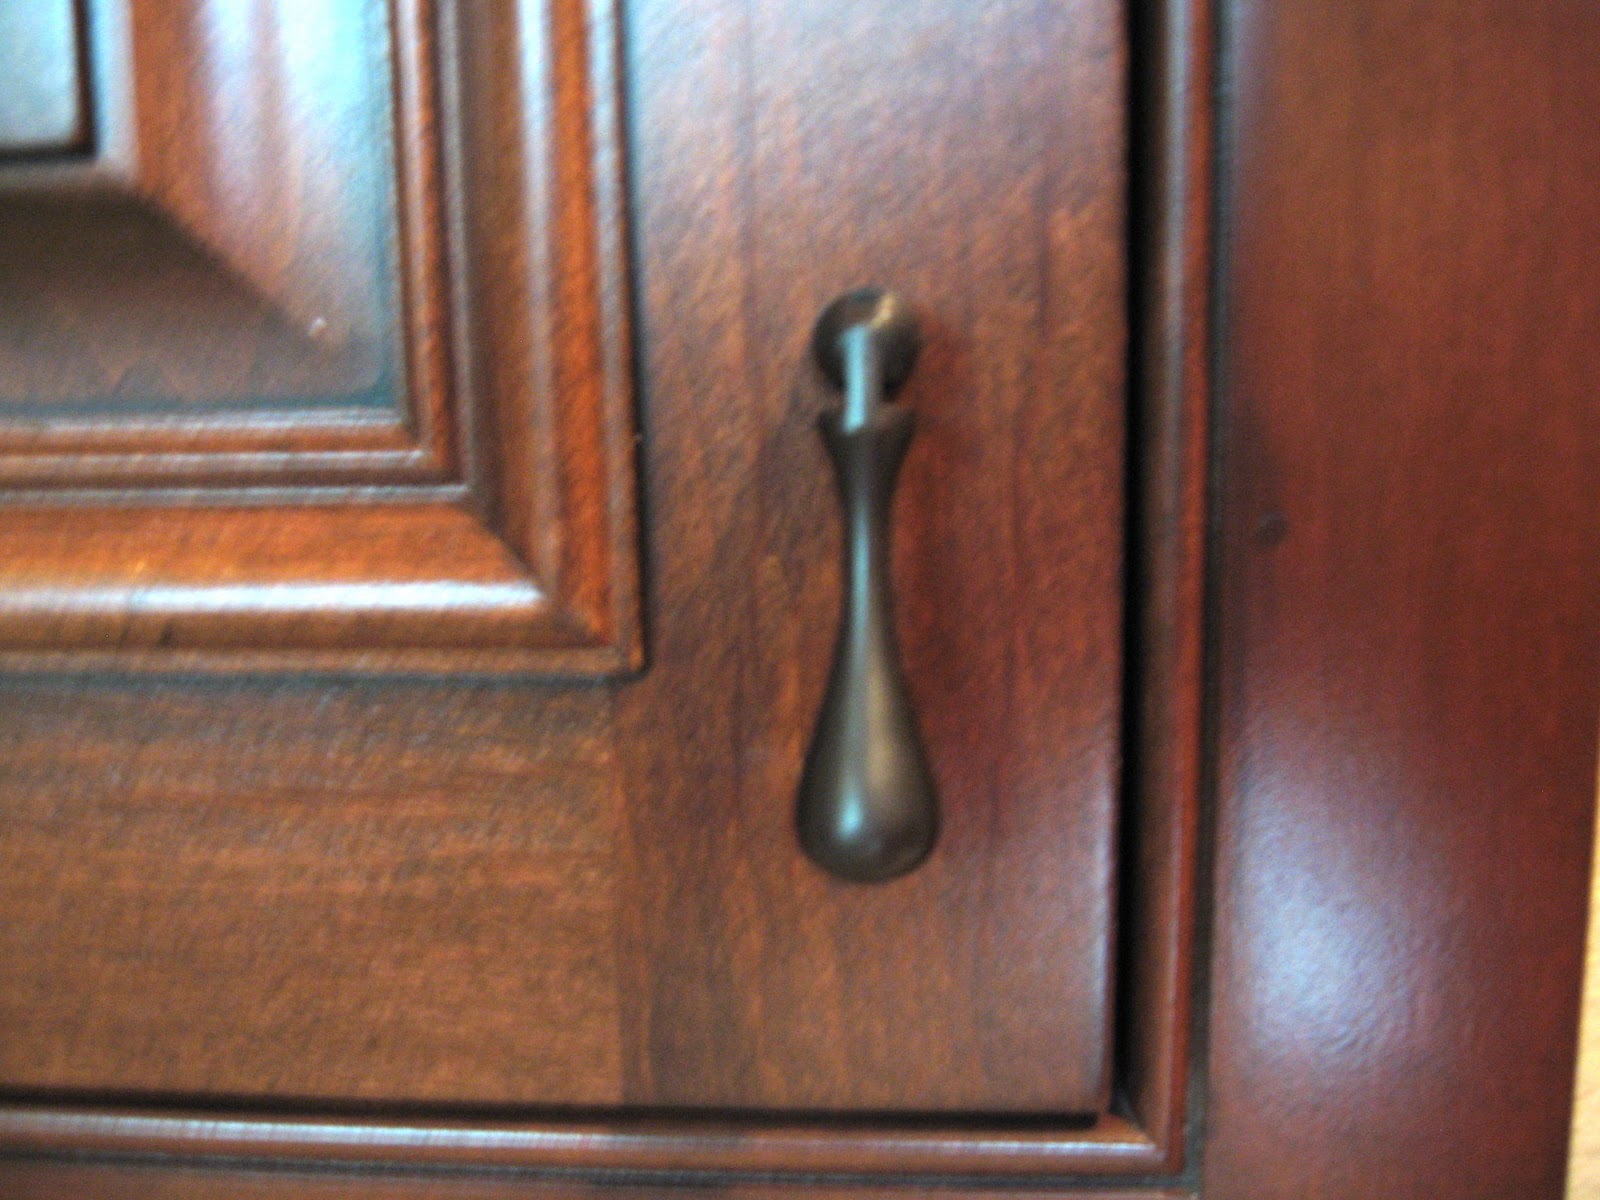 |
| For interest, oil rub bronze drop hardware |
 |
| California Title 24 Energy Saving Switches. Motion sensor for automatic turn off. Fan is on left hand side with ability to preset run time with automatic turn off. |
 |
| Subway tile on walls and continues up around the arch. |
 |
| Light in Shower/Tub |
 |
| A linen closet was added by moving the door way for former alcove style entrance. |
Wednesday, February 02, 2011
Secondary Bath Before and After
After view of subway tile bath surround with shampoo niche.

View of arched bath surround with complementary glass doors and vanity with mirror.


View of arched bath surround with complementary glass doors and vanity with mirror.

Before photo shows the boxy lack of style.
 The secondary bath had quite a dramatic improvement from the "before" design. The rooom was quite boxy with little architectural detail. The tub was offset which allowed for an awkward "seating" platform. This was never used for seating, but was a catchall for various bathing/shampoo products. The framing for the glass doors intersected the window.
During the remodel, we framed the tub in symmetrically to the window and added an arch with overhead light. The light is on a dimmer allowing for bright or dim lighting. To keep the room bright, we selected white tile for the tub surround and set it in a subway pattern. The pattern continues up the wall and through the arch. The arched area outside the tub was tiled in a harlequin multi-colored stone pattern. We used this same tile to line the shampoo/soap niche which ties the two together. The floor is tiled in crema marfil and a marble slab which complements the tiles was selected.
The tub, sink, and toilet are white. Walls are painted gourmet honey. Fixtures are in polished nickel and the glass doors are arched to match the surround. The vanity is alder stained in a midtone brown with matching beveled mirror. Over the mirror is a three light fixture in polished nickel.
Wednesday, November 24, 2010

Tuesday, November 23, 2010
Walls in the Stairwell

If your walls are not curved, it becomes easier to display collections of art.
Monday, November 22, 2010
More Iron Railing
When we were planning our new stair railing, I looked everywhere I could find iron work to see the different kinds of options available.
 This photo is from one of the hotels in Las Vegas. It shows the combination of brass and iron. Very classic. You can see that even though it is not ornate, the craftsmen did a very good job with the curved, scrolling portions.
 This photo shows a leaf which the men craft from iron. It has been painted in a faux finish to highlight the element.
 An elaborate example from Italy.
 When we were planning our new stair railing, I looked everywhere I could find iron work to see the different kinds of options available.
The final photo shows my stair rail during installation.


The final photo shows my stair rail during installation.
Sunday, November 21, 2010
Before and After in the Stairwell
Before renovation, skylight with light fixture

Skylight removed

View from the top of walls, chandelier, new iron stair rail.

The transformation in the stairwell is amazing.
Before: How it looked
The wall of the stairwell is curved as shown in the view of the ceiling. The railing was a honey yellow oak. The ceiling included a blue and clear colored stain glass skylight which was surrounded by oak and from which a light fixture (glass and gold colored metal) was suspended. The skylight was odd because the actual skylight in the roof was not centered over this feature. Therefore, during the daytime it always looked half-dimmed. The shape of the skylight didn't compliment the curved walls.
Possible Solutions
My architect suggested changing out the stained glass with a specialty glass and having the oak trim of the skylight painted white to blend into the ceiling. A decorator who was helping me suggested removing the skylight and dry walling the ceiling. I thought the decorator's suggestion worked best for me because I would not be left with a feature which would compete visually with other elements in the stairway.
After: What we did
Once I decided to remove the skylight, I realized light fixture would be the focus; I found a very beautiful antique which was rewired.
Additionally, we decided to replace the old oak stair rail with one fabricated from iron. We wanted some scroll work but tried to keep the design more simplified because the curve of the staircase is fairly tight. The iron fabricator painted the ironwork a dark brown/black color.We were very pleased with the results.
We used Dunn Edwards paint "Gourmet Honey" on the walls.
Saturday, November 06, 2010
Master Bath Before and After


We gutted the master and relocated the sinks, door, shower and water closet.
The house was built in the 80s. The baths and home had a color palette which definitely reflected that decade. The master bath was a shrimp-apricot-pink color. We choose a mellow golden color. The slab and tiles are a limestone called. The floor is a travertine. I used a very wonderful tile supplier which I will mention many times in coming articles because the woman who helped me was brilliant with tile. She helped me select a wonderful onyx which really was the punch for the room. The paint color is .
Materials
Windows: Marvin with Oil Rubbed Bronze HandlesBathroom Hardware for sinks, tub, and shower: Newport Brass 1740 series in satin nickel.
Sinks: Toto Rendezvous® Undercounter Lavatory with SanaGloss® #1 Cotton
Toilet: Toto Clayton Tank with Elongated Bowl #1 Cotton
Edge detail on countertops: Ogee with apron under (1/4" reveal)
Cabinet hardware: RK International Hardware Satin Nickel-Lines and Crosses Pull
Door Hardware: Ashley Norton Oil Rubbed Bronze Chester with Small Arched Plate...special order of
Paint--Ceiling:
Paint--Walls: Dunn Edwards Gourmet Honey
Paint--Trim:
Lighting: Sconces
Lighting:
Friday, November 05, 2010
Time to Post Again
I was so busy with the remodel, I never posted during the process. I am going to start posting some before and after shots. Additionally, I will add important learning during the process.
Friday, May 09, 2008
When Good Walls Go Bad
So I thought I had made progress with the landscape remodel? Not so fast; let's see what happens with the forty foot long wall doesn't perform.

Here is the new foundation for my perimeter wall. The structure is massive long. First the crew had to excavate to five feet by 18 to 24 inches and then build this rebar cage. The city inspector came today and noted the whole rebar cage which was constructed has to be three inches from soil on all sides. The entire rebar cage will have to be lifted and placed three inches off the soil on blocks called adobes. Additionally, not all of the sides have three inch clearance, so more excavation to be completed.

Here is just a glimpse of the disarray in the garden.
For those wondering why the first wall failed it is because the property below the wall is sloped. That means a condition called soil creep can compromise the integrity of the wall. Therefore, if someone tells you they can build a simple wall without footings on your property, but your neighbor's property is sloped, beware.
Sunday, February 17, 2008
Landscape Remodel: Progress Made


This is a before and after photo of the grassy area of the backyard.
Tuesday, February 12, 2008

Sunday, February 03, 2008
Ah! Spa


The plastering is complete and the water is back in the spa. The plaster needs to be conditioned for the next week, and then the spa is functional again. I love the mosiac koi.
Alan Smith Pools was my plastering contractor. They are very professional and a pleasure to work with.
Monday, January 21, 2008


Spa: Update of Progress
I have been remiss in posting progress of my backyard remodel. I have photos and I will be posting series of them to record the progress to date. I am waiting on the tile and plastering to finish the spa.
We are almost at the end of the journey.


We are almost at the end of the journey.


Subscribe to:
Posts (Atom)